Voltages
Voltages are unique compared to other circuit annotations (that is, labels, annotations, and currents) in that they are not necessarily bound to a single component. This means that they work slightly differently, and are worth mentioning explicitly.
Voltage arrows are all implemented using the Voltage class. At its simplest,
it requires the terminal where it should start, where it should end, and the label it
should take.
class SimpleVoltageArrow(Scene):
    def construct(self):
        r1 = Resistor().shift(UP)
        r2 = Resistor().shift(DOWN)
        self.add(
            r1,
            r2,
            Voltage(r2.right, r1.right, "V")
        )
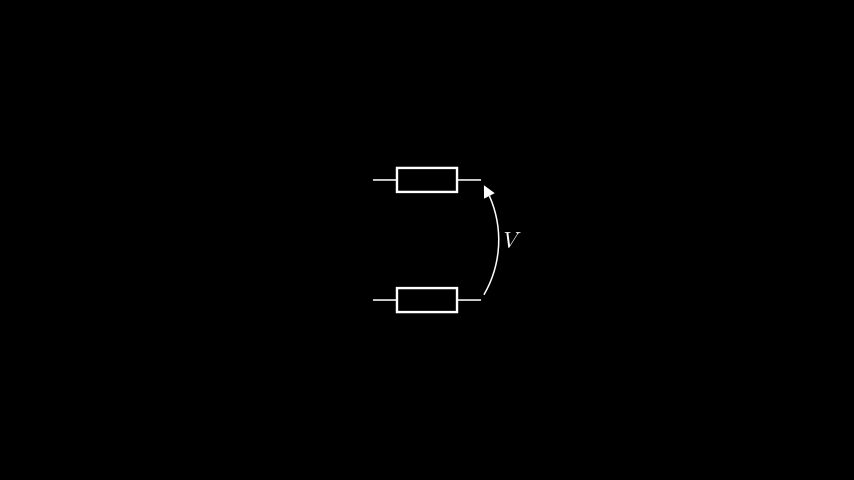
It’s worth mentioning that voltage arrows are ‘sticky’ — they will remain attached through movements of the components, including animated movements.
class SimpleVoltageArrow(Scene):
    def construct(self):
        r1 = Resistor().shift(UP)
        r2 = Resistor().shift(DOWN)
        self.add(
            r1,
            r2,
            Voltage(r2.right, r1.right, "V")
        )
        self.play(
            r1.animate.shift(UP),
            r2.animate.shift(RIGHT),
        )
Building voltage arrows
The clockwise parameter
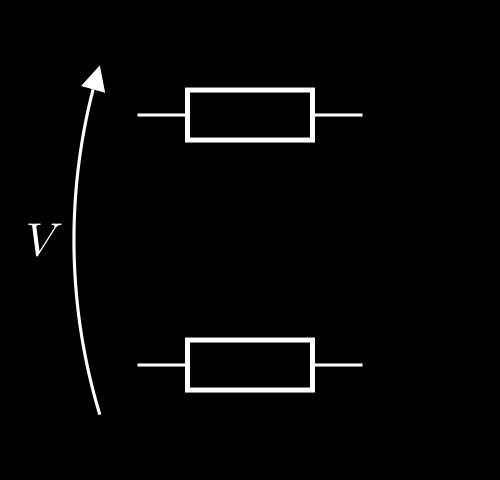
Let’s take a look at what happens if we decide to place the arrow on the left-hand terminals of the resistors.
class VoltageArrowClockwise(Scene):
    def construct(self):
        r1 = Resistor().shift(UP)
        r2 = Resistor().shift(DOWN)
        self.add(
            r1,
            r2,
            Voltage(r2.left, r1.left, "V")
        )
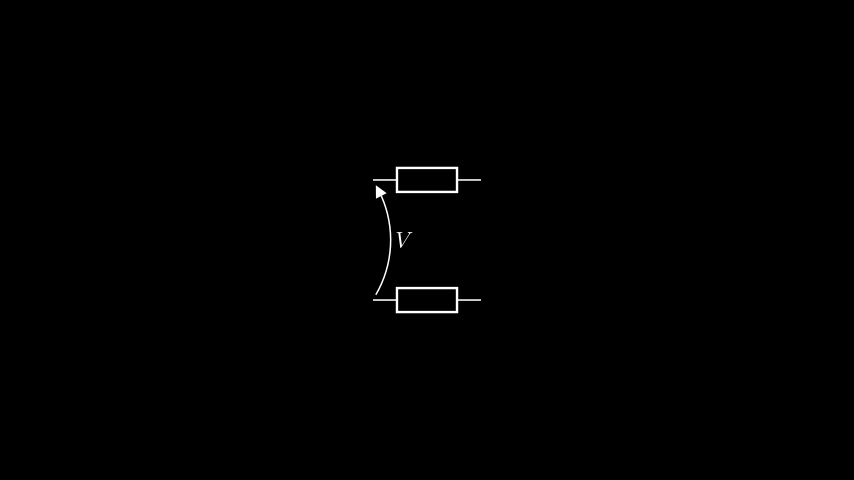
That doesn’t look quite right — we’d rather have the arrow going the other way. Enter
the clockwise parameter.
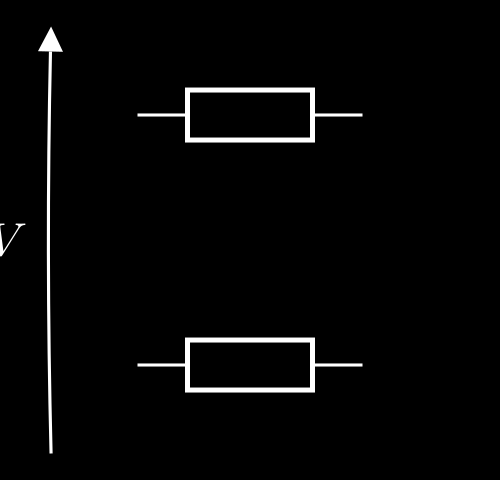
By default, voltage arrows go anticlockwise from their start to end. By setting
clockwise to True, we can force them to go clockwise, which has the effect of
flipping the arrow along a line between the two terminals it is attached to. Let’s put
this to the test.
class VoltageArrowClockwise(Scene):
    def construct(self):
        r1 = Resistor().shift(UP)
        r2 = Resistor().shift(DOWN)
        self.add(
            r1,
            r2,
            Voltage(r2.left, r1.left, "V", clockwise=True)
        )
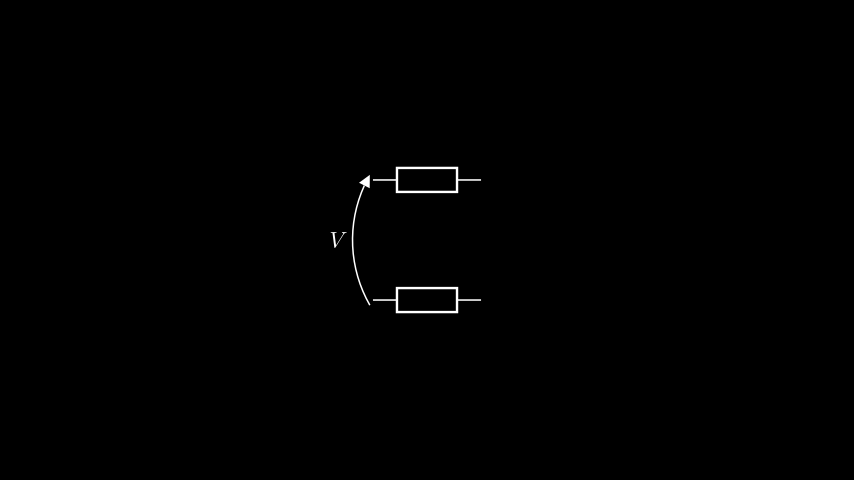
Perfect!
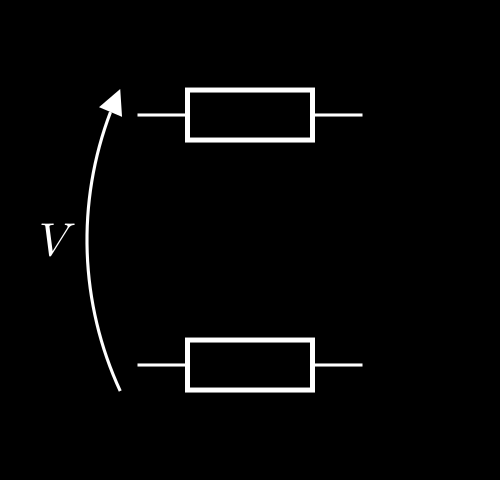
The buff parameter
The buff parameter acts similarly to the buff parameter in the Manim
Line. It adjusts the gap
between the start/end of the arrow and the terminals to which it is attached. Below are
examples of what this looks like for the four standard Manim buffs (though you can of
course use your own arbitrary values as well).
SMALL_BUFF (the default)

MED_SMALL_BUFF
MED_LARGE_BUFF
LARGE_BUFF
(there is an arrow there, it’s just tiny!)
avoid and component_buff
This is where voltage arrows start to get clever. Through avoid, you can set a
component whose body the voltage arrow should avoid colliding with, and through
component_buff you control how close the arrow gets to the component.
Let’s take a look at what this means with a single, unlabelled resistor.
class VoltageArrowAvoid(Scene):
    def construct(self):
        r = Resistor()
        self.add(
            r,
            Voltage(r.right, r.left, "V", avoid=r)
        )
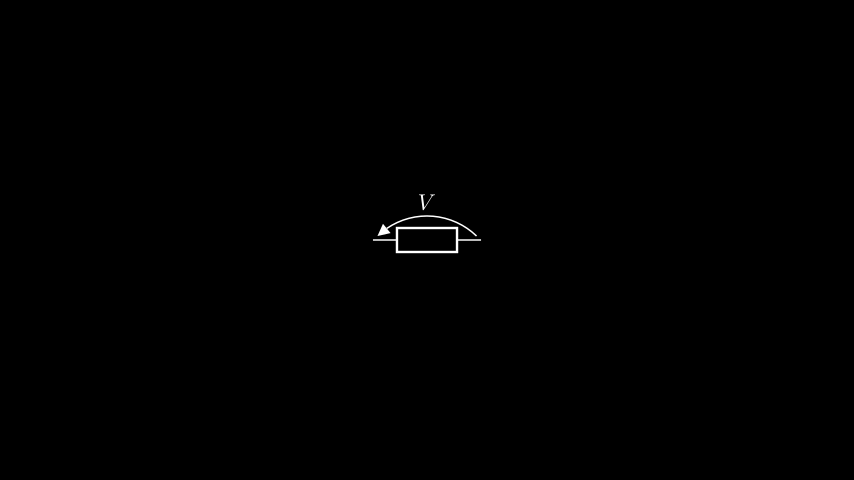
That doesn’t seem all that special, but what if we add a label to the resistor?
class VoltageArrowAvoid(Scene):
    def construct(self):
        r = Resistor(label="R")
        self.add(
            r,
            Voltage(r.right, r.left, "V", avoid=r)
        )

The voltage arrow changed to fit around the label! This is the power of the avoid
parameter.
Adjusting voltage arrows
The Voltage class has a wide array of methods available for updating a
voltage arrow on the fly. They have all been vetted for their animations as well
(like everything else in manim-eng). Check out Voltage‘s API documentation to get
an overview of the offering.
Component‘s voltage() method
All Components provide a voltage() method to return a
voltage arrow across two terminals on a component. This is just a utility wrapper around
the Voltage constructor, and will automatically set the
avoid parameter to be the component it is called on.
That is, for a resistor named r,
Voltage(r.left, r.right, "V", avoid=r)
and
r.voltage("left", "right", "V")
return equivalent voltage arrows.